eAI
Article

Creating a Basic Model in Model Builder

Anand George
#CostEstimation#ModelBuilder#PlantFCE

Introduction

Model Builder provides a powerful and intuitive platform to create and assemble 3D models using pre-built resources. In this tutorial, we’ll demonstrate how to create a basic model, by importing and arranging components such as pipes, elbows, and a ball valve.
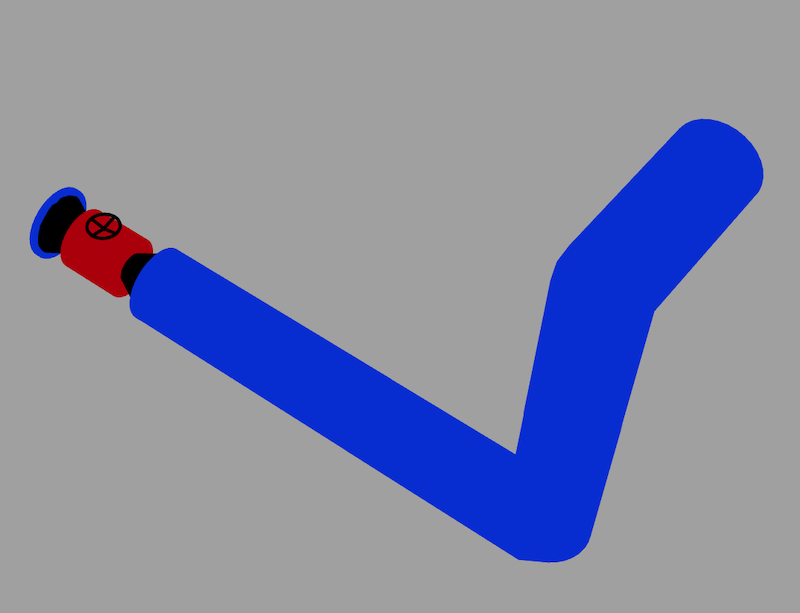
Basic 3D Model

Basic 3D Model

The resources we’ll use are:

  1. pipe.json – Model for a pipe.
  2. left-elbow.json – Model of a left elbow.
  3. right-elbow.json – Model of a right elbow.
  4. ball-valve.json – Model of a ball valve.

Importing Resources

  1. Open Model Builder.
  2. Go to File > Import.
  3. Select the file to import.

After importing, these components will be added to the scene.

Step 1: Adding the Pipe to the Scene

  1. Download pipe.json.
  2. Choose File > Import and use the downloaded file to add it to the scene.
  3. Position it at the origin (0, 0, 0) or a preferred starting point.
  4. Scale and rotate the pipe as needed using the transformation tools.

For this model, keep the pipe aligned along the X-axis.

Step 2: Attaching the Ball Valve

  1. Download ball-valve.json.
  2. Choose File > Import and use the downloaded file to add it to the scene.
  3. Position it to ensure a precise connection between the pipe and the ball valve.
  4. Rotate the ball valve, if necessary, so that its handle is oriented upward.

Step 3: Adding a Right Elbow

  1. Download right-elbow.json.
  2. Choose File > Import and use the downloaded file to add it to the scene.
  3. Position it at the end of the pipe
  4. Rotate the elbow by 180° on the Y-axis.

Step 4: Extending with a Left Elbow

  1. Download left-elbow.json.
  2. Choose File > Import and use the downloaded file to add it to the scene.
  3. Position it at the end of the right elbow.
  4. Rotate the elbow by 180° on the Y-axis.

Step 5: Adding Directional Light

  1. Choose Add > Light > Directional to add directional light.
  2. Position it so that the model is suitably lit.

Step 6: Fine-Tuning and Saving

  1. Use the Camera tool to inspect the model from various angles.
  2. Make any necessary adjustments to ensure all components are correctly aligned.
  3. Save your project by going to File > Save Project.
  4. Export the model in your desired format (“.glb”, “.obj”, etc.) for further use.

Step 7: Open the Saved Model

  1. Choose File > Open and use the saved file to add it to the scene.
  2. Alternately, download the completed model here.
  3. Make any necessary adjustments to ensure all components are correctly aligned.

Conclusion

Congratulations! You’ve successfully created a basic model in Model Builder using pre-built components. With these skills, you can design more complex assemblies by combining and customizing various resources. Experiment with additional transformations and materials to enhance your models.

Understanding the Model Builder Coordinate System →