
Lighting plays a crucial role in 3D visualization, significantly impacting the realism, mood, and overall presentation of any model. Whether you’re a developer, designer, or engineer, mastering how to use lights effectively in Model Builder can dramatically enhance the clarity, detail, and visual appeal of your 3D models.
When working with 3D models, lighting is not just an aesthetic choice—it’s functional. Proper lighting can reveal details, highlight important features, and guide the viewer’s attention to specific parts of the model. Conversely, poor lighting can obscure details or make the model look flat and lifeless.
In Model Builder, lighting can be used to:
Before diving into the specific steps for enhancing your 3D model, let’s review the types of lights available in Model Builder:
Ambient Light (optional): This light affects all objects in the scene equally. It doesn’t cast shadows, but it’s useful for adding a uniform brightness to the model.
Directional Light: A strong, parallel light source that simulates sunlight or other distant light sources. It casts shadows and provides clear, sharp illumination.
Hemisphere Light: A light source that provides a gradient between a sky-like color (above) and ground-like color (below). It’s a good way to simulate outdoor lighting environments.
Point Light: A light source that radiates in all directions from a single point, like a light bulb. This type of light is excellent for highlighting specific areas of your 3D model.
Spot Light (optional): Similar to a point light but more focused, like a flashlight or a stage spotlight. It can be used to draw attention to key components of the 3D model.
Shadow Settings: Shadows are crucial for realism. Many lights, like directional and spotlights, can cast shadows. Managing the intensity and quality of shadows is key to making the 3D model look more grounded in its environment.
In this section, we’ll go through the practical steps of applying lights to your 3D model using Model Builder.
First, open Model Builder and load your 3D model. Ensure that your model is well-scaled and positioned at the scene’s origin (0, 0, 0) for optimal lighting results.

Ambient light ensures that no part of your 3D model is left in complete darkness. It adds a base level of brightness across the entire scene but doesn’t cast any shadows.
1.0 (or higher for a stronger effect). For Color, use a neutral or slightly warm white to simulate daylight.0.3 - 0.5 to provide subtle lighting.While ambient light is essential, it alone won’t highlight the fine details of your 3D model, so we’ll add more dynamic lighting next.
Use a Directional Light to simulate sunlight or a strong overhead light source. This type of lighting is ideal for casting shadows and giving depth to your model.
1.0 (or higher for a stronger effect). For Color, use a neutral or slightly warm white to simulate daylight.To ensure the light casts shadows:

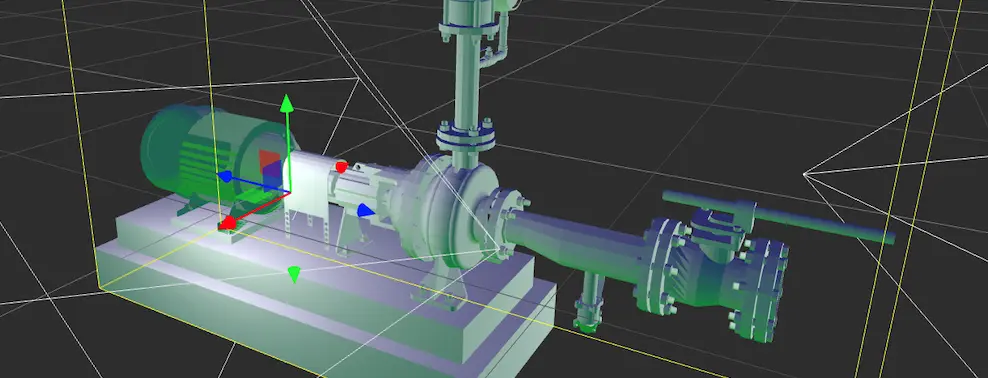
The Hemisphere Light is perfect for simulating outdoor environments, providing a natural, even light that doesn’t rely on a single point of origin. It illuminates your pump model from both the sky and ground, creating a soft, balanced light that enhances realism without casting harsh shadows.
0.7 – 1.0 to create a balanced light effect. This will ensure that the pump model is lit evenly from above and below without the stark contrasts caused by directional lights.
Next, add Spot Lights to focus on specific parts of the 3D model, such as the motor, valves, or any complex geometry. Spotlights help draw the viewer’s eye to these important areas and add visual interest.
If your 3D model has intricate parts inside or around the back, you can use Point Lights to illuminate these regions. Point lights simulate light coming from a specific point, much like a bulb, and are effective for adding fill light in areas that might otherwise be in shadow.

After adding your lights, it’s essential to refine their settings to achieve the desired effect. This includes adjusting the shadow quality, light color, and intensity for each light source.
Shadow Softness: Soft shadows generally look more realistic, especially for larger light sources like directional or area lights. You can adjust the shadow softness by modifying the shadow map size and increasing the shadow blur radius.
Multiple Lights: Experiment with combining different types of lights. For instance, using both a directional light and a point light can add depth and balance to the scene.
Light Colors: Subtle changes in the light color can alter the mood of the scene. For example, a cooler light (slightly blue) can give a more industrial or technical look, while warmer tones (slightly orange or yellow) can give a more inviting feel.
After you’ve set up your lights, do a quick review of your 3D model to ensure that:
You can preview the results by rotating the camera around the 3D model to check how the light interacts with the surfaces from different angles. If necessary, tweak the positions, intensities, and colors of the lights for a more polished look.
Lighting can make or break the visual quality of your 3D models, and when working in Model Builder, understanding how to effectively use lights is essential. Whether you’re highlighting the intricate details of a 3D model or setting the mood for a product visualization, combining different light types like Directional Lights, Hemisphere Lights and Point Lights will give your models greater depth, realism, and aesthetic appeal. By following the steps outlined in this guide, you’ll be able to enhance the presentation of your 3D model, ensuring that it stands out in any project or presentation.